Thursday, April 26, 2012

Aquarium


My son and I recently took a trip to the Charleston Aquarium with a friend of mine! Oh what a blast we had. My son LOVES fish and he was hesitant to leave after the short walk through. I was a little bummed out because some of the aquarium was under construction! But I have been assured that when the aquarium is fully functional it's a lot of fun. So, I will defiantly have to go again! Here are a few pictures of our adventure! 


As soon as you walk in, there is a large tank full of colorful fish! He didn't realize there where more fish to see and objected to leaving this spot! 


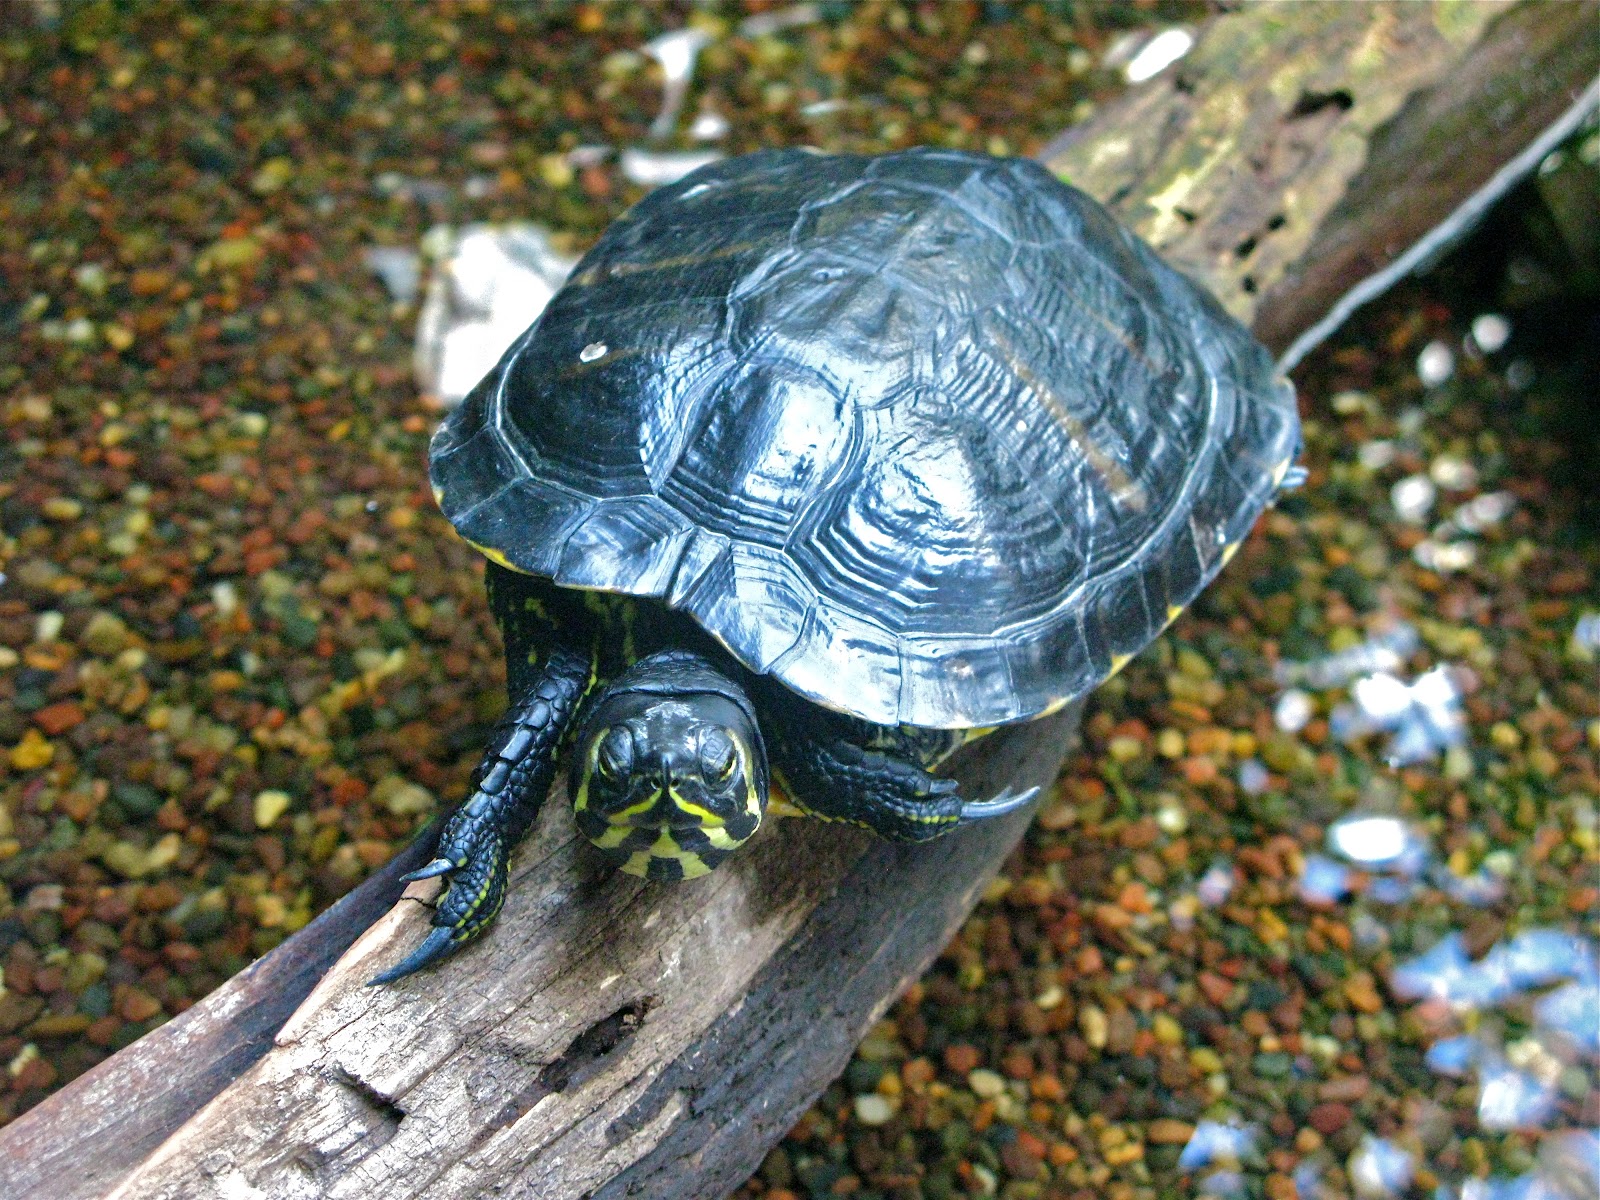
He got to see his favorite! Turtles! 


This was fun to see! Bradley was blown away that someone was swimming with the fish! 


Stingrays! 


And last but not lest, he got to touch a starfish! He was pretty brave and really enjoyed it! 

I have a lot of fun trips planned out! One of which I will be visiting my family in Texas for my fathers homecoming from a deployment! I can't wait to share my adventures and projects with you all!!! 

Banana Bread Muffins


My Husband LOVES banana bread! I am always making it! He will eat a loaf in a matter of minutes, if I let him! SO, to try and slow him down, I decided to take my normal banana bread recipe and pour it into a muffin pan! I am all about individual serving sizes! I love this recipe! The banana bread turns out supper moist and nice a fluffy! I hope you all enjoy! 


Recipe: 

1 cup sugar
1/2 cup canola oil
2 eggs
1 cup (about 3 banana’s) mashed ripe bananas
1/2 cup sour cream
1 tsp. vanilla
1 1/2 cup flour
1 tsp. baking soda
1/2 tsp. salt


Turn heat onto to 350. I am not going to lie, I just mix everything together! 

Grease and flour a loaf pan. This makes about 1 large loaf or 2 medium loafs. If you do a large loaf cook for about 50-60 min. For a medium cook for about 45min or until a tooth pick come out clean! For a muffin pan it will only need about 15-20 min. I didn't track the time when I made them, so keep an eye out!   

I hope you all enjoy! 


Peanut Butter No-Bake Cookie


Hi everyone! 

Sorry it has been a while! A lot has been going on these past few weeks and I haven't had a chance to blog! So, I thought I would bring back the blogging with a simple, yet OH-SO-YUMMY no-bake cookie! 

I know no-bake cookies are rather simple and I am sure most of you have one memorized by now! I know I have a few! But this is a simple twist from the normal chocolate no-bake cookie. 
Just PEANUT BUTTER! 

You will need: 

1/4 cup Butter
1/2 cup Milk
2 cups Sugar
1 cup Peanut Butter
1 teaspoon Vanilla 
1/2 teaspoon Salt
3 to 4 cups of Old Fashion Oats 

Directions: In a medium to large sauce pan, bring Butter, Milk and Sugar to a boil. Let boil for about a minute. After it boils remove from heat and quickly add Peanut Butter, Vanilla and Salt. Let the Peanut Butter melt into the mixture. Add Oats and then place on wax paper or a cookie sheet. Let cool down for about 30 min. You can put them in the refrigerator if you like! 

Enjoy! 

Tuesday, March 20, 2012

Going North

My family and I spent the past week traveling up the East Coast to spend a lavish weekend at the Oheka Castle to celebrate our friend's, Zach and Sarah's, wedding! (Robert was a groomsmen and Bradley was the ring bearer!) 

Our first stop was in Raleigh NC, to visit my husband's Grandparents! We took our son Bradley to Pullen Park, where they have a carousal, train ride, and kiddie boats! It was a wonderful experience for us all! 


Our next stop was Washington D.C. We stopped there to meet with the groom and spend a day walking around down town! We had a BLAST! 


After D.C. we went to NYC. What a shock it was! We have been in the south for a while and we were not ready for the hustle and bustle of the city! But, we got to see some pretty neat sites and some iconic buildings! over all we had a wonderful time! 


Our last stop was the Oheka Castle for the wedding extravaganza! It was AMAZING! 


The wedding was beautiful and the bride was stunning! 


The reception was a blast and the food was amazing!


Bradley had a wonderful time dancing the night away with his momma! 


And my husband and I clean up pretty well, if I don't say so myself! 


All in all, we had a wonderful time on our little get away! We saw new places and met new people! We are so thankful to Zach and Sarah for letting us be a part of their wedding! We had a wonderful time and we are extremely happy for them! 

Congratulations to Zach and Sarah! We love you both! 


Monday, March 12, 2012

Tip of the week 03-12-12


So, I recently went to stay with my mom and one day while helping do dishes, I noticed she kept all of her sponges and scrub pads cut up in a dish! I thought this is brilliant! I never use the whole sponge or scrub pad anyways! So as soon as I got home I did the same! It has saved me money and time!


Another great tip is: at the end of the night when you are finished with your dishes, rinse out your sponge or scrubby really well and place it in the microwave for a minute! It kills the bacteria and dries the sponge to keep it from stinking! I hope you enjoyed this tip of the week!!!


Here is a picture of where I keep my sponge and scrubs. The dish next to it is where I keep my dishwasher soap!!!


Sunday, March 11, 2012

Easy Spring Wreath


I wanted to make a spring wreath that was CHEAP, but looked nice!
So I went to Michael's to see what I could find! I bought just your normal $4.99 stick wreath form. 
Then I found 5ft spring garland on sale for $3.50 ($6.00 regular price) I bought 4! 
I also had a 40% off one regular price item, so it was used on my wreath! 
Anywho, all you have to do is wrap the garland around the wreath! The garland has wire in it making easy to twist the ends around the sticks making it stay in place! No glue or anything! This way it can be interchangeable through out the year!  

I hope you all enjoy the wreath as much as I do! Get out to your craft stores and make something!! 
~Simplicity

Wednesday, February 29, 2012

Washer and Dryer Covers


I have wanted to make these for a while now! But, I have had a few mishaps with the washers a dryers I owned and they had to be replaced! So now that I have my new washer and dryer it was finally time to tackle this task! I got the idea from my mom. Who, like me, HATES messes! These covers really help eliminate scratches, spills and whatever else might try and take a whack at your washer and dryer! 

What you will need:

2 yards of fabric
2 towels 
Thread
and a sewing machine! 


Now I just measure my stuff by eyeing it and it usually works out. But you can measure your washer and dryer and figure out what size you will need to cut your towel! 

I cut mine into 3 pieces. The bigger one on top is the width and then the bottom piece is for length and the strip is to help with the "length piece". 


You will cut the strip to be the same length as the "bottom" piece and sew those together first! 


Then you will sew the "top" to the bottom, that has now been altered, so both pieces are the same size length wise! 


Here id an idea of what it will look like win it's all sewn together! 

Once the towel is the size you want it. Cut out the fabric. You shouldn't have to cut the fabric into a bunch of pieces. It should just be one piece. You will lay the fabric on top of the towel and pin it together . Make sure you sew it with the towels pretty side facing the pattern on the fabric (the picture above shows what side of the towel and fabric that should be facing each other.) You are sewing it inside out, and then you will turn it right side out when finished. 

When you are sewing the towel and the fabric together make sure to leave a opening to where you can turn

your cover right side out! 


Once its sewn and right side out you can add a border to your cover! Its really simple! Just sew along the inside about, a inch and a half. Sew all the way around! Thats it! 
Don't forget to hand sew the opening you left to pull your cover right side out!!!